
The Zen of Precision: How Sewing Machine Mechanics & Maintenance Elevate Your Craft
7/5/20262 min read
The Zen of Precision: How Sewing Machine Mechanics & Maintenance Elevate Your Craft
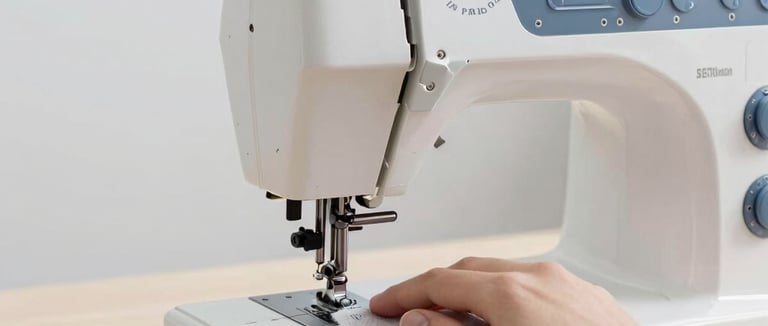
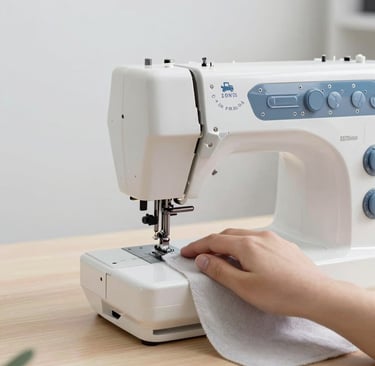
If you've ever stepped up from an entry-level plastic sewing machine to a heavy-duty, high-quality workhorse, you know the feeling. The smooth purr of the motor, the way it glides through heavy denim or delicate silk without dropping a single stitch—it feels like magic.
But it isn’t magic. It's high-precision engineering. Under the hood of a premium sewing machine is a complex symphony of synchronized gears, drive belts, and timing mechanisms working in micro-millimeter tolerances.
When your machine is running perfectly, your creative results transform. Your tension stabilizes, your lines stay perfectly straight, and your fabric feeds through effortlessly. However, even the best engineering needs proper care to stay in peak condition. Let's look at the simple maintenance rituals that will keep your machine purring and your projects flawless.
The Core Mechanics: The Bobbin Race & Feed Dogs
At the heart of every stitch is the relationship between your needle and the bobbin assembly. As the needle drops down, a precision-timed rotary or oscillating hook passes incredibly close to the needle eye, catching the upper thread and wrapping it around the bobbin thread.
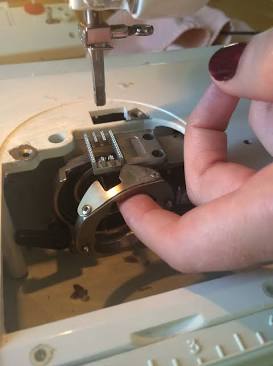
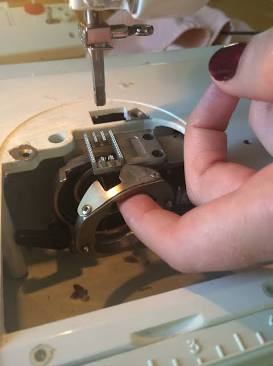
Accessing the bobbin race assembly. Source: Palindrome Dry Goods
Because this area is constantly subjected to moving thread and moving metal, it is the primary spot where lint, dust, and sheared fiber fragments accumulate. When lint builds up under the needle plate and inside the bobbin race (as shown in the image above), it absorbs the lubricating oil, increases friction, throws off your thread tension, and can even cause timing issues.
Your 3-Step Maintenance Ritual
To ensure your creative results never suffer from skipped stitches or uneven tension, make this quick routine a habit every time you finish a major project (or after about 8 to 10 hours of solid sewing time).
1.Power Down & Clear Out:Safety First.
Turn off and unplug your machine. Remove the presser foot, needle, and bobbin. Unscrew the needle plate to fully expose the feed dogs and the bobbin housing.
2.Evict the Lint:Never Use Canned Air!.
Use a small nylon lint brush, a mini vacuum attachment or as i use throw away mascara wands.to gently pull out fabric dust. Never blow into the machine or use canned air, as this forces abrasive lint deeper into the internal gears and mechanical bearings where you can't reach it. You wouldn't believe how much lent those throw away mascara wands pick up! plus you can get in between those feed dogs with them. They are wonderful and inexpensive!
3.Oil the Precision Parts:1-2 Drops Max.
Consult your machine's manual to locate the specific oiling points (usually the rim of the bobbin hook race). Apply one single drop of high-quality sewing machine oil. Rotate the handwheel toward you a few times to distribute the oil, then wipe away any excess.
The Golden Rule of Needles: A dull needle is the number one cause of poor stitch quality and unnecessary mechanical strain. Treat needles as consumables—replace them after every 8 hours of sewing time or at the start of every brand-new project.
By taking just a few minutes to clear the lint, oil the moving parts, and swap out your needle, you protect your mechanical investment and guarantee smooth, beautiful stitches on your very next creative masterpiece. Happy sewing!
Contact
Phone
© 2026. All rights reserved.