Rescuing History Part 2: First Color Coat on the WWII New Home!
Corinne
7/2/20262 min read

Rescuing History Part 2: First Color Coat on the WWII New Home!
In Part 1, I shared the incredible dedication of our customer, who drove from Orange, Texas, to trust us with his mother’s WWII-era New Home machine. After spending an unknown amount of time in a shed, the elements had not been kind to it. Between the rough, bumpy wartime casting and the heavy weathering, getting this machine ready for paint was a massive undertaking... but my fiancé worked his magic. Through hours of meticulous Evercoat glazing and the application of a specialized etching primer, he took that bumpy, uneven texture and made the foundation completely slick and smooth as glass.
Laying Down the Color
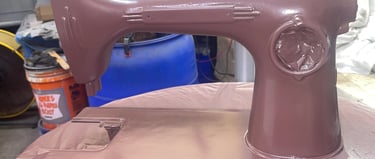
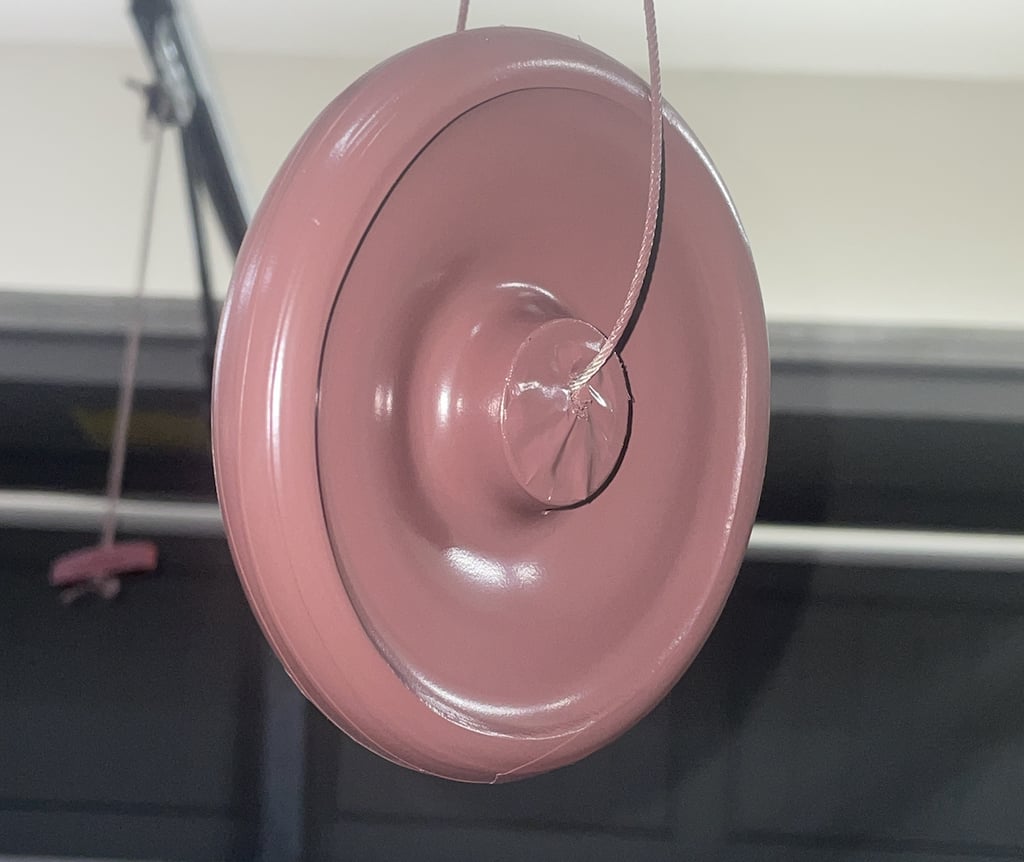
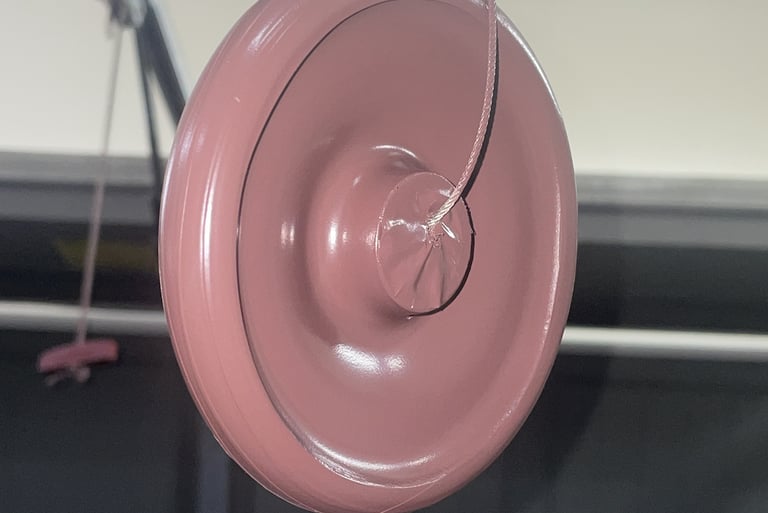
About a week ago, all that intense prep work finally paid off. It was time for color. Because this is a deeply sentimental family heirloom, the goal wasn’t to give it a modern custom color. Instead, we custom-matched the paint to the original factory brown to bring it back to exactly how his mother would have remembered it in its prime.
Using his spray gun and an air compressor, my fiancé applied the paint and clear coat in a precise two-step process. Paint is so fascinating to watch—when it first went on wet, it had a unique pinkish-brown hue. But as it off-gassed and began to cure, it deepened and transformed into the most perfect, rich vintage brown with a deep, wet-look glass finish that will protect it for generations to come.
Ready for Reassembly
Since she has been sitting safely on the bench curing for a week now, that two-step finish has had plenty of time to fully rock-harden. That means we are finally ready to start the nerve-wracking process of unmasking and beginning the mechanical reassembly (and attaching all those gorgeous, smoothed-out small parts!).
Stay tuned for Part 3 to see her fully put back together!


Contact
Book your sewing machine repair or restoration appointment today!
Phone
© 2026. All rights reserved.